

A home sauna should feel hot, clean and easy to breathe in—not stale, damp or smoky. Good ventilation keeps air moving through the room, supports a comfortable heat cycle and helps the cabin dry properly after every session. It is also one of the details that is easiest to leave until the sauna arrives, when moving a vent or opening a wall becomes much harder.
This guide explains what to plan before installation: where fresh air enters, how warm humid air leaves, what changes with an electric or wood-fired heater, and how to protect the surrounding room or backyard structure from trapped moisture.
The Short Answer
Use the sauna manufacturer’s vent locations as the starting point. In a traditional electric sauna, fresh air is commonly introduced near or below the heater and exhausted on the opposite side of the room, often low on the wall. A wood-fired sauna needs combustion air as well as room-air ventilation, so the stove manual and local code take priority. Infrared cabins still need the surrounding room and the cabin to dry, even though they operate at lower air temperatures.
The goal is a complete path through the cabin: fresh air in, air across the bathers and benches, then moist air out. A vent cut into a wall is not useful if both openings are on the same side or if furniture blocks the airflow path.
Why Sauna Ventilation Matters
Better air during the session
Traditional sauna heaters warm both the air and the stones. Pouring water on hot stones adds steam quickly. Without a way for fresh air to enter and humid air to leave, the room can feel heavy long before the heater has reached the temperature you wanted. Proper airflow helps the heat feel more even from bench to bench.
Faster drying after the session
The drying cycle matters just as much as the bathing cycle. Leave the door open after use, remove wet textiles and keep the room ventilated until the benches, floor and lower wall areas are dry. For an outdoor sauna, drainage around the cabin and airflow under the floor are part of the same moisture plan. For an indoor sauna, the adjacent room needs a way to handle moisture too.
Protection for the cabin and room around it
Cedar or spruce can tolerate heat well, but no wood benefits from staying damp. Humidity trapped behind finishes, at the floor edge or in an unventilated changing area can create odor, staining and maintenance work. Ventilation does not replace correct waterproofing, a level base or manufacturer-required clearances; it works alongside them.
How the Air Path Should Work
1. Give fresh air a clear entry point
For many electric traditional saunas, the intake is located near the heater because the incoming air warms as it meets the heat source. That does not mean every cabin uses the same layout. Some heater manufacturers specify an intake high on the wall and a mechanical exhaust lower down; others use a different arrangement depending on the control system and room geometry. Follow the exact cabin and heater instructions rather than copying a sketch from another sauna.
2. Place the exhaust across the room
The exhaust should complete the route, not short-circuit it. When intake and exhaust are too close together, the fresh air can leave before it has crossed the benches. A vent on the opposite wall or below the upper bench commonly pulls air through the occupied part of the room. Use adjustable grilles only if the manufacturer permits them, and keep them open during the drying period.
3. Keep the route unobstructed
Do not cover vents with baskets, towels, storage or a decorative wall panel. If the sauna sits inside a finished bathroom, gym or basement, do not assume the room’s general HVAC return replaces the sauna’s required intake and exhaust. The sauna needs its own planned route; the surrounding room needs sufficient ventilation to handle heat and moisture after the door opens.
Electric, Wood-Fired and Infrared Saunas Need Different Planning
| Sauna type | What to plan | Key caution |
|---|---|---|
| Traditional electric | Manufacturer-specified intake and exhaust path, dedicated electrical work, dry-out routine. | Do not size vent positions from person count alone; heater and control instructions matter. |
| Wood-fired | Combustion air, cabin ventilation, chimney clearances, fire-safe hearth and local approvals. | Never improvise a flue or close a combustion-air opening to make the room hotter. |
| Infrared | Room clearance, dedicated electrical supply where required and post-session drying. | Lower temperature does not mean zero moisture or zero need for fresh surrounding air. |
Three Sauna Formats to Plan Correctly
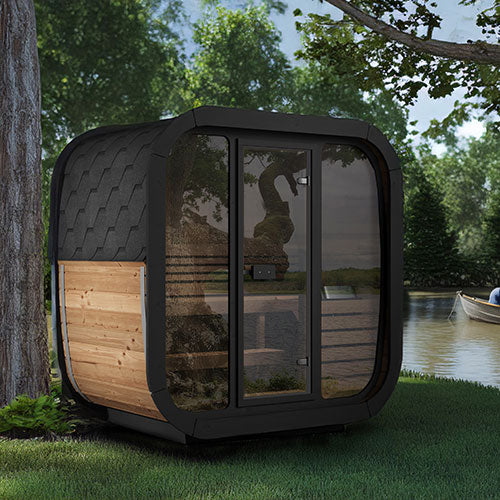
OUTDOOR TRADITIONAL PICK
SaunaLife CL4G Outdoor Cube Sauna
A rectangular outdoor cabin gives you a straightforward wall layout for the heater, intake and exhaust plan. The CL4G has a 76-inch back-wall bench and a broad glass front; choose an approved heater and make ventilation part of the heater-layout conversation before the cabin is assembled.
Traditional stones 76-inch back bench Heater selected separately
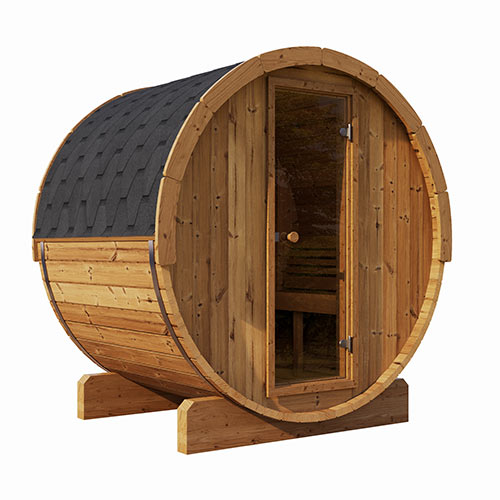
OUTDOOR BARREL PICK
SaunaLife E6 Outdoor Barrel Sauna
A barrel’s curved walls make the interior compact, but they do not eliminate the need for a full airflow and dry-out plan. The E6 includes dual floor drains; pair them with a well-drained site, the correct heater configuration and open-air drying after use.
59-inch length 81-inch diameter Dual floor drains
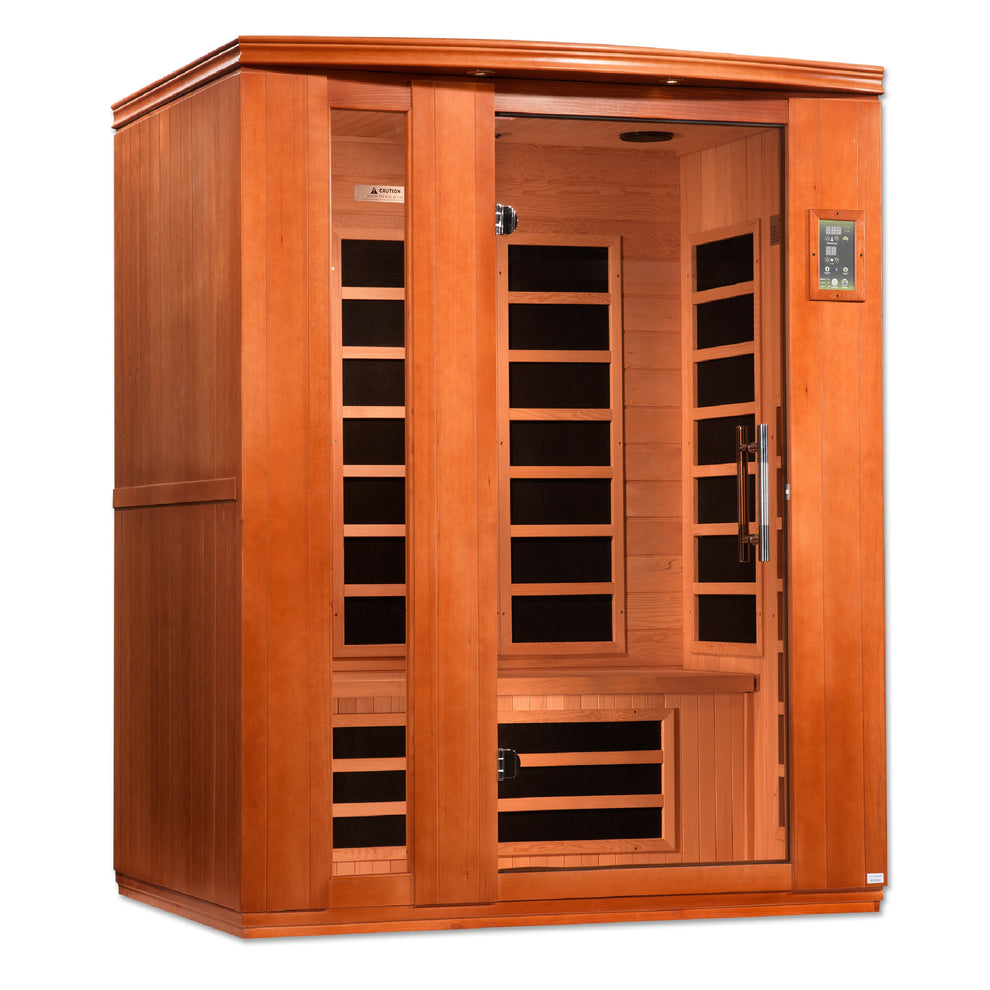
INDOOR INFRARED PICK
Dynamic Lugano 3-Person Infrared Sauna
An infrared cabinet can be a practical indoor choice when you have a dry, well-ventilated room and a confirmed electrical plan. The Lugano uses carbon panels and is listed for 120V/20A service; confirm the dedicated circuit, clearances and care instructions before delivery.
Indoor infrared 60" W × 45" D 120V / 20A listed spec
Before You Install: Ventilation Checklist
- Read the cabin manual and the exact heater or stove manual together.
- Mark the intake, exhaust, heater, control, door swing and bench locations on the site plan.
- Confirm whether the exhaust is passive or requires a fan approved for the application.
- For indoor projects, identify how the room outside the sauna will dry after sessions.
- For outdoor projects, keep water moving away from the base and leave access to vents, drains and service panels.
- Have a licensed electrician handle electrical work and a qualified installer handle chimney and fire-clearance requirements.
If you are still choosing the site, start with our backyard sauna planning guide. For the electrical questions to settle before ordering, see the sauna electrical requirements guide.
Frequently Asked Questions
Can I use a bathroom exhaust fan for a sauna?
Only if the cabin and heater manufacturers allow that layout and the fan is suitable for the temperature and humidity conditions. A generic bathroom fan is not automatically a sauna exhaust solution. Check the documentation before installing it.
Should I leave the sauna vents open all the time?
Use the manufacturer’s guidance for normal operation. After a session, open the door and any permitted vents so the cabin can dry. Do not block fixed safety or combustion-air openings.
Does an outdoor sauna need ventilation if it has a door?
Yes. Opening the door after use helps with drying, but it does not replace the planned intake and exhaust path needed while the sauna is operating.
Final Takeaway
Ventilation is not an accessory to add after the sauna is hot. It is part of the installation plan, alongside heater selection, electrical work, drainage and clearances. Build the airflow path into the layout from the start, then follow the model-specific instructions that came with your cabin and heater.